
How to Add a Dormer Window Without Losing Character
Start with the roofline, not the window
A dormer is not simply a window pushed through a slope. It is a small building in its own right, with walls, a roof, flashings and gutters, and it will be read by anyone passing as part of the house's silhouette. That is why the best conversions begin with a slow walk around the outside of the property, not a look through a brochure.
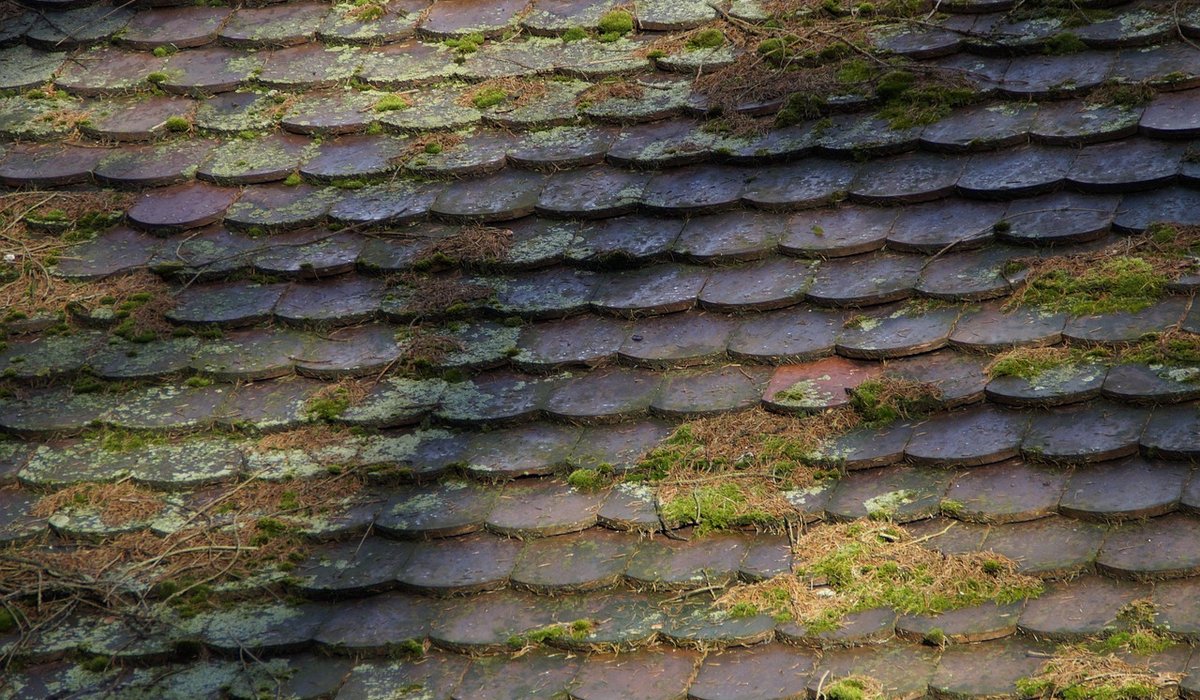
Take photographs of the roof from the street, from the garden and from both neighbouring sides. Note the pitch — usually somewhere between 40 and 50 degrees on a Victorian or Edwardian terrace. Note where the ridge sits, how the chimneys relate to it, and whether the roof is covered in slate, clay tile or concrete tile. Then ask yourself a single question: if a dormer had always been there, where would the original builder have put it?
The answer is almost never dead centre. Symmetry matters on a facade, but a roof plane is a different canvas. Aligning the dormer with the window below, or with a chimney stack, usually looks more deliberate than centring it on the slope.
Get the proportions right — three numbers that matter
Awkward dormers are almost always too big, too tall or set too far forward. Three measurements do most of the work.
- Width. A single dormer usually looks best at roughly one third to one half of the width of the roof slope it sits on. Anything wider starts to read as a flat-roofed extension perched on the roof.
- Set-back. Keep the front face of the dormer well behind the eaves line — typically at least 500mm, and often closer to a metre on a steep pitch. This preserves a band of original roof at the bottom, which is what tells the eye the house still has a roof.
- Height. The dormer's ridge should sit clearly below the main ridge. A dormer that reaches or overtakes the ridge flattens the whole roof visually.
Also watch the internal headroom. Building control generally wants at least 2 metres of head height across the usable floor area, and the staircase needs roughly 2 metres of clearance too. Those two constraints often determine the dormer's depth more than aesthetics do, so check them before you fall in love with a shape.
Match the materials, match the detailing
Material matching is where a good dormer becomes invisible in the best sense. Reuse the same slate or tile, from the same quarry or manufacturer if you can, and accept that new slates will weather in over a couple of years. If the main roof is natural slate, a concrete-tiled dormer will always look like an afterthought.
Detailing carries equal weight. Cheek walls on a traditional dormer should be finished in the same material as the walls below — brick, render or hanging tiles — rather than left as bare blockwork. Bargeboards, fascias, soffits and window frames should echo the existing house: a chunky uPVC casement on a house with slender painted timber sashes will jar, however good the roofline is.
Do not overlook the small metalwork. Lead flashing around the dormer cheeks and back gutter, properly dressed and stepped into the brickwork, is what keeps the junction watertight for decades. Code 4 lead is common, but ask your roofer to specify the correct thickness for the exposure and the length of the run.
Pick a dormer shape that suits your house
Shape is a period question as much as a practical one. A gabled dormer, with a pitched roof running forward from the main slope, is the safe, traditional choice for Victorian terraces and most cottages. A hipped dormer, sloping back on three sides, is gentler and often better on older, less regular rooflines.
Flat-roofed dormers give the most internal headroom and floor area for a given footprint, but they are visibly modern and rarely suit a listed or conservation-area property. A mansard or segmental dormer can work beautifully on Georgian and some Edwardian houses, though it is a specialist job and the cost reflects that.
If a full dormer simply will not sit well, roof lights set flush with the slope are the honest alternative. They preserve the roofline completely, cost a fraction of a dormer and can be paired with a smaller rear dormer for headroom over the stairs.
Know where you stand on permission
Many loft conversions fall under permitted development, which for a house means a volume allowance — broadly 40 cubic metres for a terraced house and 50 cubic metres for a detached or semi-detached one — and no dormer on a roof slope that faces a highway. These limits include the whole conversion, not just the dormer, so add up the volume honestly.
Conservation areas, listed buildings and properties subject to an Article 4 direction remove those automatic rights. In those cases you will need planning permission and, for listed buildings, listed building consent as well. Even where permission is not required, a quick conversation with the local conservation officer can save a great deal of redesign later.
Inside: make the new space work hard
Dormers earn their keep indoors as well as out. The vertical face gives you full-height space for a desk, a dressing table or a proper window seat, and the deep reveal below is ideal for built-in drawers. Low sections behind the knee walls are perfect for wardrobes, bookshelves and eaves storage, provided you insulate them properly and leave access for maintenance.
Keep the window sill at roughly 900mm to 1100mm from the floor so furniture fits beneath it, and think about where the radiator or towel rail will go before the plasterboard goes up. A well-proportioned dormer, built from matching materials and detailed with care, will read as though it has always been part of the house — and that is the whole point.

4 Comments